Overview[1]
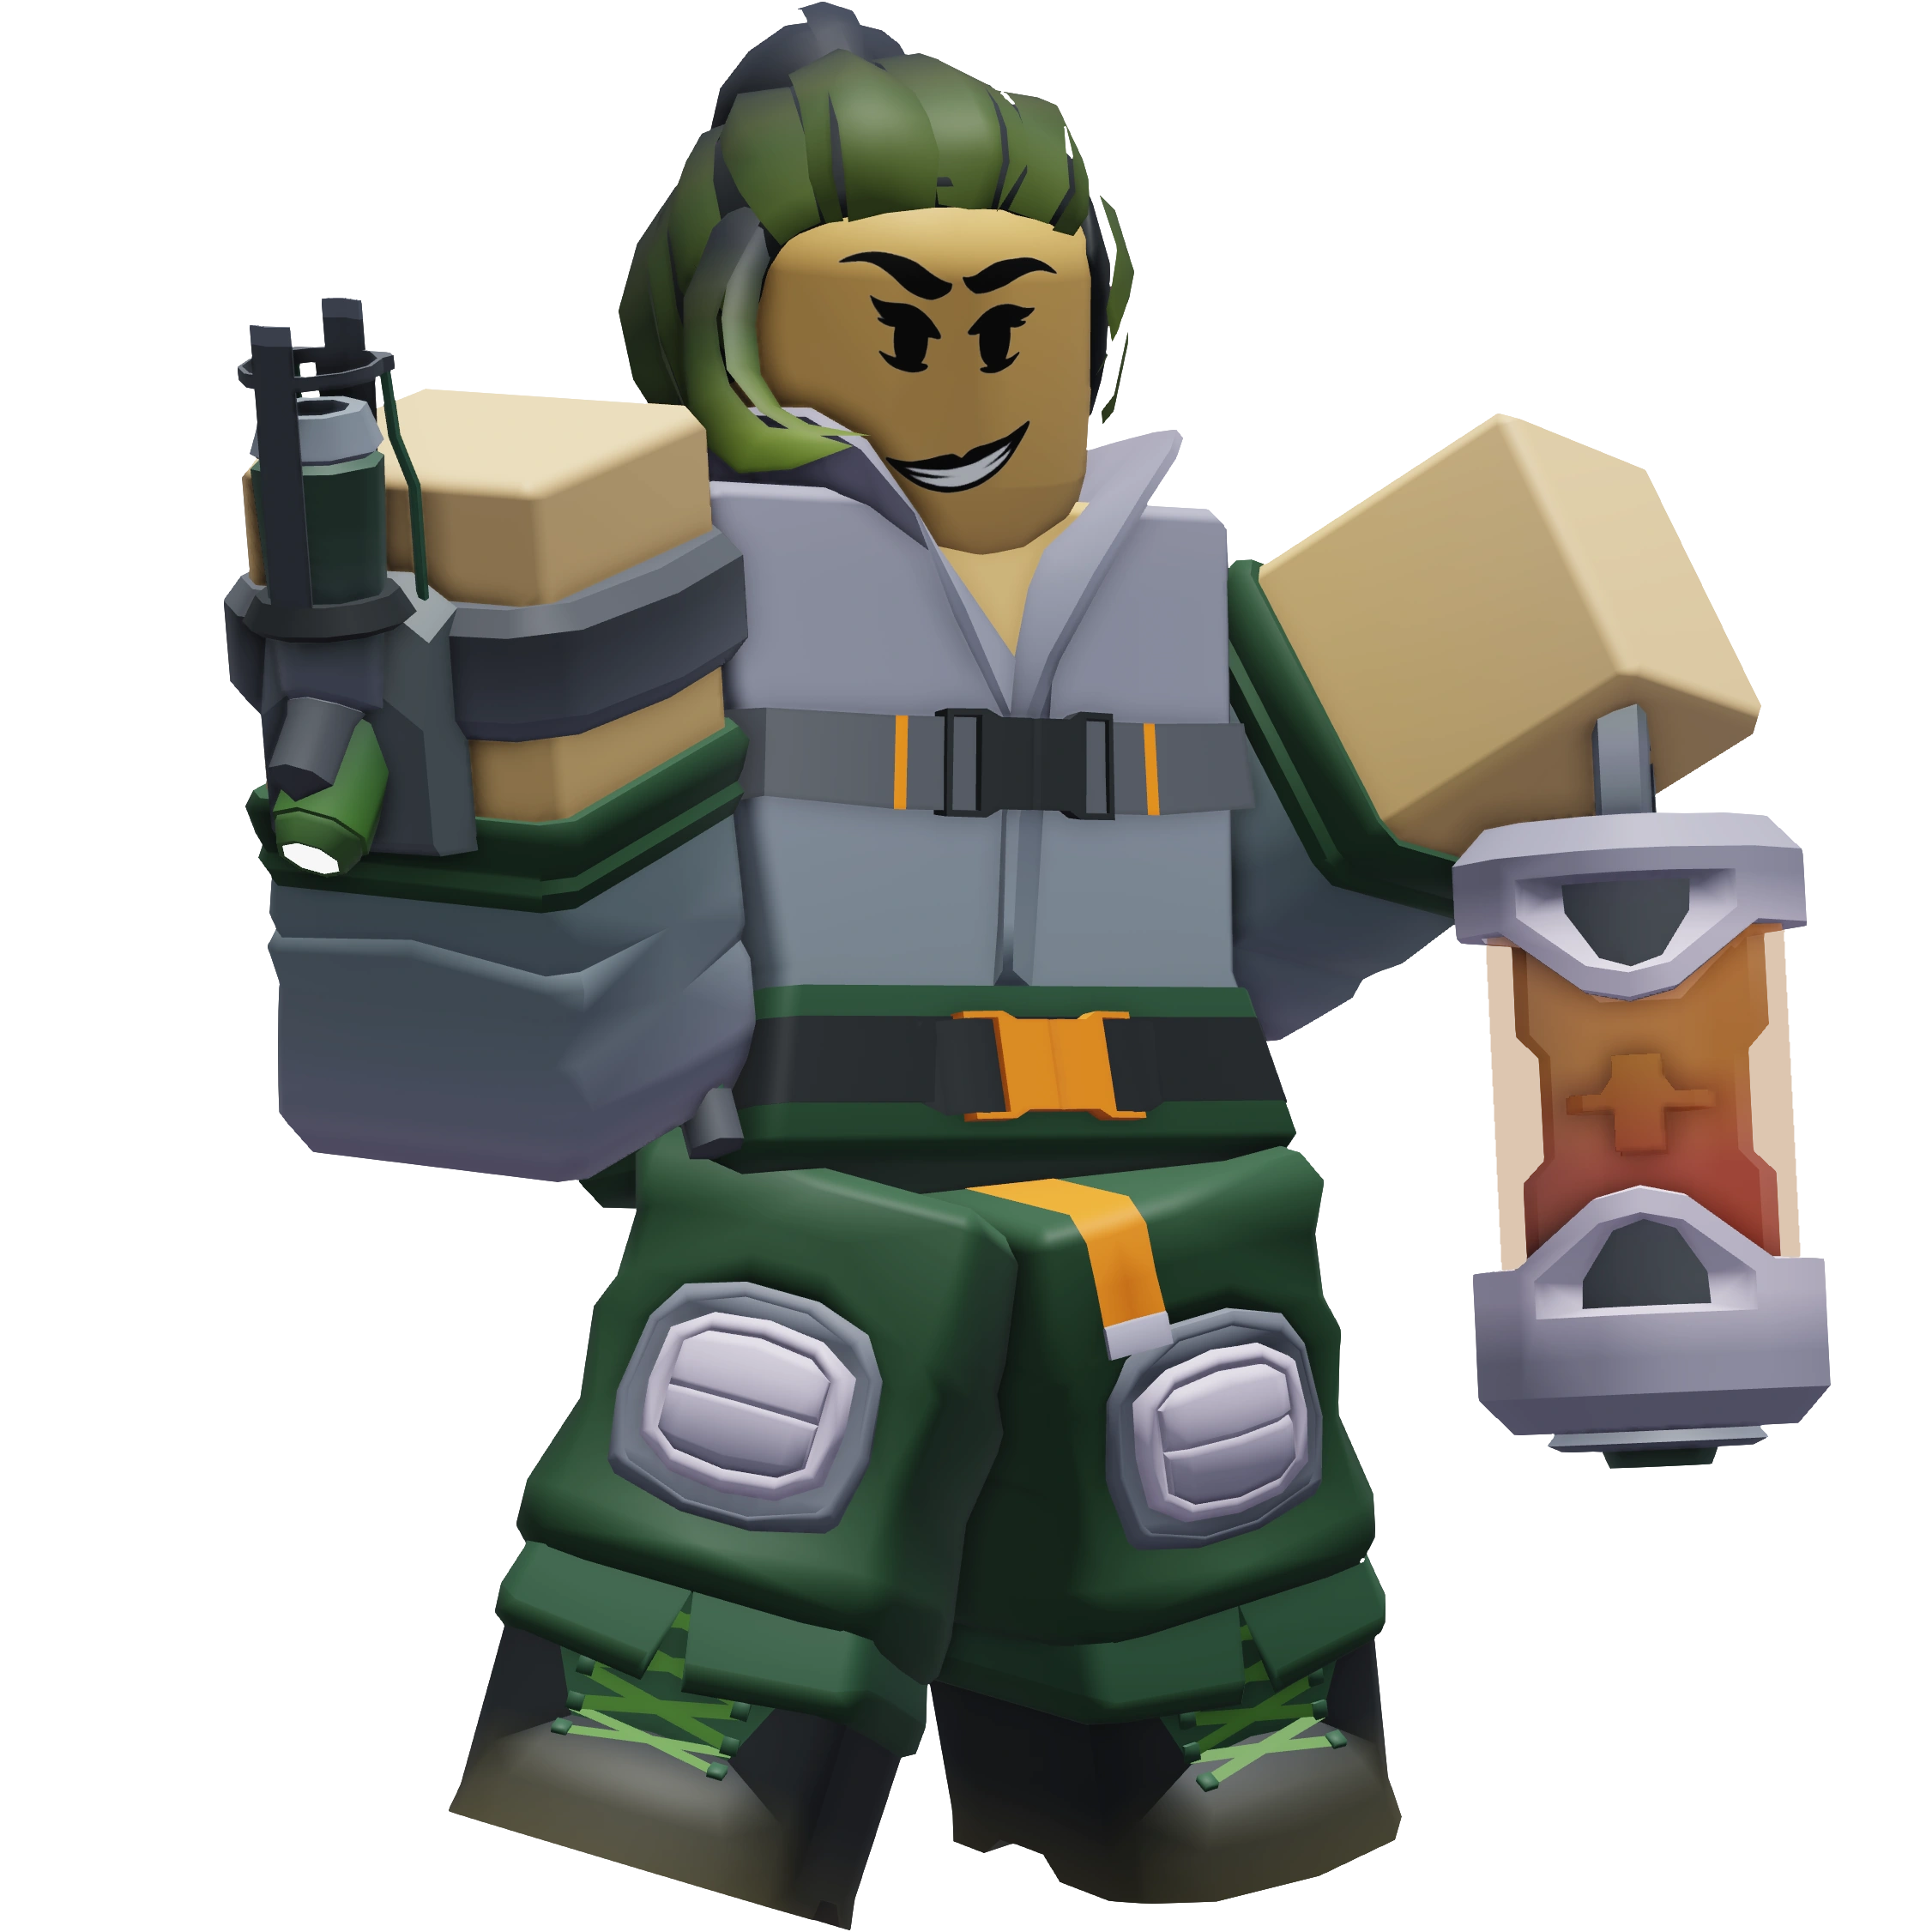
The Swarmer is an event damage over time tower that could have been obtained by triumphing Eggy Island's Hard difficulty as part of the Spring 2020 Event. It could have also been bought via a gamepass for during Spring 2020, and can most recently be bought again for.
The Swarmer is an event damage over time tower that could have been obtained by triumphing Eggy Island's Hard difficulty as part of the Spring 2020 Event. It could have also been bought via a gamepass for 350 Robux during Spring 2020, and can most recently be bought again for 799 Robux. The Swarmer deals damage by throwing beehives and later by firing bees, additionally applying a single stack of bees on an enemy. The struck enemy is then inflicted with the Bee Debuff effect, taking damage over time without requiring the Swarmer to directly attack it. The bee stack has a set duration for each level, in which it will then decay with the individual Bee Debuff effect expiring along with it. The enemy will be damaged each Tick, the interval between each sting for a given amount of time, known as Sting Time. This functions similarly to other forms of tick damage, such as the Pyromancer's burn damage. The Swarmer can apply multiple bee stacks at a single enemy, with each Swarmer having a cap that increases every level. Other Swarmers can contribute to the stack, exceeding the initial maximum stack in an instance where there is only one Swarmer, and multiple bee stacks will inflict all of their collective DPS on a single target. When there are multiple stacks applied, Sting Time does not apply to each one. Instead, after the first stack's Sting Time ends, a single stack will be removed and the timer will restart. The Bee Debuff effect will persist so long as there is at least one extant stack. There is a limit of 10,000 stacks per enemy.
Stats
- Base Cost
- 900
- Base Damage
- 2
- Damage Type
- Single, Sting, Splash (Ability)
- Fire Rate
- 1.2
- Immune
- Partial Debuff, Partial Stun
- Lead Detection
- (Sting & Splash Damage only)
- Placement
- Ground
- Range
- 13
- Role
- Offense
- Selling Price
- 300
- Unlock Cost
- Triumph Eggy Island (Hard Difficulty)
Statistics
To see all the previous statistics of this tower, see the history page.
Strategy
The Swarmer is generally not the most effective option for earlier parts of the game due to its slow firerate, rather low range and low sting damage. If used, it should be set to Strongest so that it can hit as many enemies as possible or prioritize stronger enemies to apply more bee debuff effects to. First Enemy targeting would make it always target the first enemy, which can be ineffective as some damage will be wasted if you have more than enough stacks. Later on, as Swarmer excels in single target damage, it is best to keep all Swarmers placed on Strongest. It can, however, become a very strong tower once higher health enemies such as the Fallen Squire and Slow Boss start to appear. The Swarmer will reapply the bee debuff effect to an enemy if it attacks the same enemy, allowing it to be stacked. Only the sting time for one effect can be active on an enemy. If there are 100 stacks, the earliest one will be active. This effectively means that constantly applying the effect can extend it. This allows it to reach extremely high DPS values, even being able to take down the bosses like the Fallen King and Molten Warlord somewhat quickly. For example, ten Level 5 Swarmers, after firing at a boss for just 12 seconds, will have applied roughly 100 stacks of bees, dealing a total of 400 DPS from just the incomplete stack alone. The Commander can be extremely useful with the Swarmer, as it allows it to apply its effects at a faster rate, making its rampup much faster.
Update History
For previous cosmetic variations, see the gallery page.
Patch history
The original design of Swarmer is based on R2DA's Swarmer in name and appearance. Additionally, the Swarmer's Level 5 outfit was very similar to R2DA's Beekeeper Suit. The store description is taken from a scene involving Nicholas Cage in the film The Wicker Man. Immediately after the Swarmer's addition, it could have been bought for 2,500 Coins. However, this was soon removed, and anyone who acquired the Swarmer this way was refunded. The Swarmer's stinging mechanic was originally a bug that allowed the Swarmer to stack the effect multiple times. This would be removed in v1.9.0 with the tower debuff reworks, though later brought back in v1.52.0. The Swarmer has the highest cost efficiency in the entire game, at 3,808.63 on Level 5. The Swarmer is currently the only tower to have one of its upgrades remove its direct damage.