Overview[1]
Banlands was the event map for the second night of the Null & Void Event. Like other event maps, this map had a specialized wave structure with special enemies. Players started with a varying amount of cash, based on how many players there are in the match. The rewards received were based on how many waves were survived and if the match was won. This map had two difficulties, Easy and Hard. Cash was only gained if an enemy is killed, or in some cases, damaged by a specific amount of health. Additionally, the amount gained was a set amount of cash, which was not always equal to the enemy's health. Enemies split their cash between players, regardless of how much damage the player dealt to it. If, in a duo, one player did all the damage to an enemy, both players would receive 50% of the cash the enemy would normally give in solo. This meant that in solo, you received 100% of the cash when an enemy was killed, or it was damaged enough. With each additional player, this is reduced to 50% in duo, 33% in trio and 25% in quad. If it is a decimal, it gets rounded up or down depending on the decimal value. If it is at least 0.5, it gets rounded up. If it is less than 0.5, it gets rounded down. Health of enemies in this mode scaled with player count and difficulty. In Easy, the increase was 5% in duo, 20% in trio and 40% in quad. In Hard, the increase was 15% in duo, 30% in trio and 40% in quad. This map had the Path Spawn Even modifier, which was an indicator of each enemy only appearing on one path.
Stats
- Developer
- Your_Adversary
- Difficulty
- Normal
- Length
- Long
- Level Requirement
- None
- Mode
- Event
- Waves
- 25
Design & Path
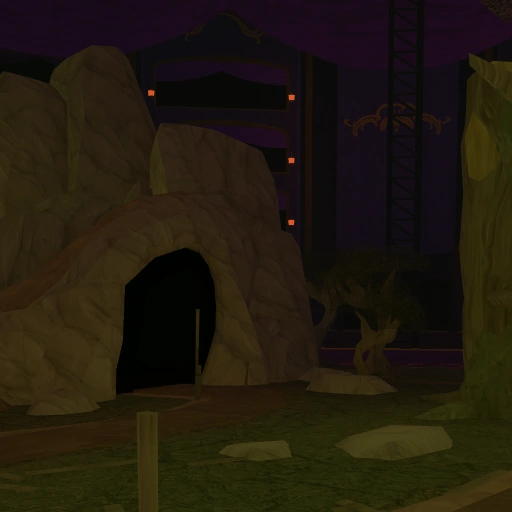
Banlands took place in the outer Nil Zone. The map was surrounded by a purple fog. The playable area took place on a small elevated area covered in large spikes on all sides. While initially empty, as the match progressed, various objects would fall down from the sky. In the distance, a few buildings could also be seen. As Banlands is home to various objects and people that were cast away, such items from the game's past can be seen. This includes things that were seen in-game, like the Star Cannon, but also objects which never made it into the game, like the Railgunner tower's railgun. The path started at an entrance and ended at a rift. It passed through the terrain, avoiding the pipes, spikes and objects placed on the map. After Wave 1, blue boost pads appeared on the path, which temporarily boosted enemy speed by 25%.
Curses
In the Hard difficulty, every fifth wave a curse was applied to the match. Curses were modifiers which came with both upsides and downsides. They lasted the entire match and, majority of the time, did not boost the rewards the match gave out. The following curses could be applied: Justice, upon reaching 25% of the base health, every tower received a 10% Damage Buff. The Fool, set the base health to 1 but also increased all wave bonuses by 10%. The Tower, debuffs like stuns now lasted 50% longer when applied to towers, but debuffs like burn now lasted 25% longer when applied to enemies. Additionally, Call to Arms duration was also extended by 10%. The Moon, made all enemies Hidden but also gave every tower a 10% Range Buff. The Star, applied a 5% Range Debuff and 5% Firerate Debuff (~5.26% increase) to towers, but increased every player's total tower placement limit by 5. The Sun, enemies now all spawned with the Stun Immunity, Freeze Immunity and Burn Immunity, but towers now had all three detections. The Chariot, all towers received a 10% Firerate Debuff (~11.11% increase), which was replaced with a 10% Firerate Buff and 10% Damage Buff on the final wave. Temperance, Mutation was applied which boosted the Shield Health of enemies by 5% of their base health, but gave all towers stun immunity and boosted rewards by 20%. Death, all enemies were now Bloated and Nimble, but rewards were increased by 20%.
Preset Loadouts
Each player was allowed to pick from one of three preset loadouts in the Easy difficulty. Alongside these preset options, players could opt to use their current loadout as the first choice. However, if one's loadout contained no towers, this option would be unavailable.
Rewards
The game calculated how many Coins Coins and you received based on how many waves you survived and if you won a match. During periods of 100% more (Friday – Sunday), any earned was multiplied by 2x through the XP Boost modifier. The VIP gamepass also multiplied any earned by 1.25x through the VIP Boost modifier. These two boosts were additive. Rewards were calculated as: Triumphing Banlands could give out an additional reward, which could be a crate, consumable or ticket. They were meant to be guaranteed, though due to a bug this did not always happen. These items in the Easy difficulty were: Common (55%) (2-4) (2-3) (2-3) Low Grade Crate Turkey Leg (2-4) Pumpkin Bomb (2-4) Uncommon (35%) Mid Grade Crate Sugar Rush (2-4) Rare (10%) Unholy Storm (2-3) Necromancer's Tome (2-3) High Grade Crate In the Hard difficulty, these were: Common (50%) (2-4) (2-3) (2-3) Low Grade Crate Turkey Leg (2-4) Pumpkin Bomb (2-4) Uncommon (30%) Mid Grade Crate Sugar Rush (2-3) Rare (20%) Unholy Storm (2-3) Necromancer's Tome (2-3) High Grade Crate There were also a few badges and achievements which could be obtained when playing this map. These are
Wave Structure
Banlands had a few wave bonuses which changed based on the wave. Between Wave 1 and 15, it was: 500 + ([Waves Completed - 1] × 100)^1.225 Between Wave 16 and 25, it was: 400 + ([Waves Completed - 1] × 100)^1.225 Depending on player count, the wave bonus was reduced using multipliers. These multipliers were: The wave clear bonus appeared when every enemy from that wave was killed and no damage was dealt to the base health. It was 25% of the wave bonus in solo, while for duo, trio and quad it was 20%. Waves could not be skipped in Banlands. The waves in Banlands mode followed these timings: Bolded names indicate an enemy type's debut. Easy Wave Structure ---- Hard Wave Structure
Strategy
Due to Null Shriekers appearing relatively early, especially in the Hard difficulty, it is recommended to bring early-game towers with flying detection, like the Golden Soldier, Engineer, Crook Boss or Militant. The Sun and Firework Technician can be used to give any tower which does not have flying detection it, though do note that The Sun comes with a negative effect of giving enemies immunities. Later on, high DPS towers like the Accelerator, Ranger or Minigunner are recommended. As later waves contain a lot of strong Hidden enemies and in the Hard difficulty also Lead, it is recommended to have towers with at least one of these detections. The Sun and Firework Technician can be used to give any tower which does not have these detections to them, though do note that The Sun comes with a negative effect of giving enemies immunities. In higher player counts, it is highly advised to bring cheaper, more cost efficient towers due to the drastically lower amount of cash you make. Due to the nature of the map, towers that can spawn units such as the Military Base, Mercenary Base, Necromancer and Golden Crook Boss can be extremely effective, as their units' range allow them to see enemies from a safe position. Support towers like the Commander and DJ Booth are recommended to beat the mode. The Medic will be less useful, since the Null Freezer can freeze your towers, bypassing its shield. The Farm should not be used on this map in the Hard difficulty, as its income generation is disabled there. This, however, does not apply to the Easy difficulty.
Update History
25 October 2025 - v1.78.0 Banlands added. Skills are disabled in the Easy difficulty. 27 October 2025 - v1.78.1 Wave structure changed. 31 October 2025 - v1.79.0 Boosted Easy increased from to. Hard increased from to. Speed boost pads now add particles to enemies affected by them. Enabled Skills in the Easy difficulty. 26 November 2025 - v1.80.1e Banlands removed.
Patch history
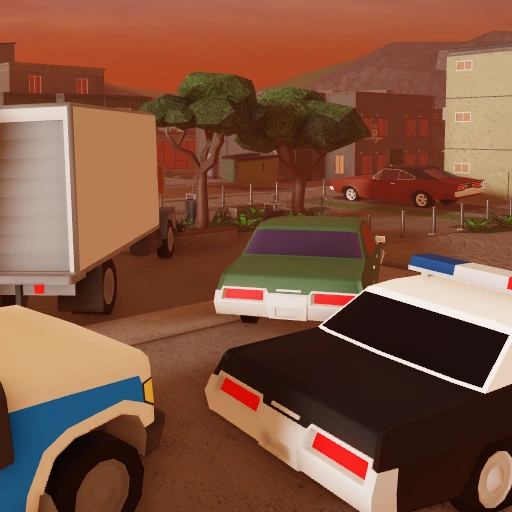
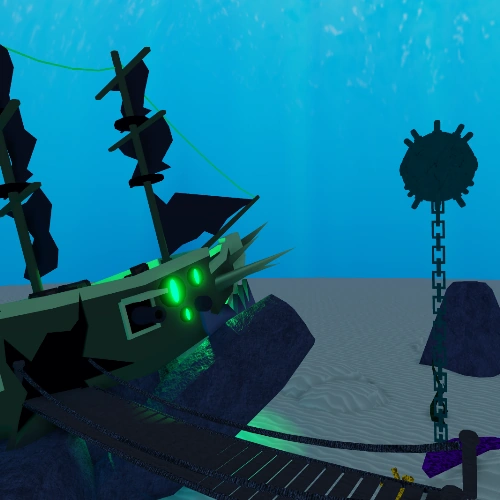
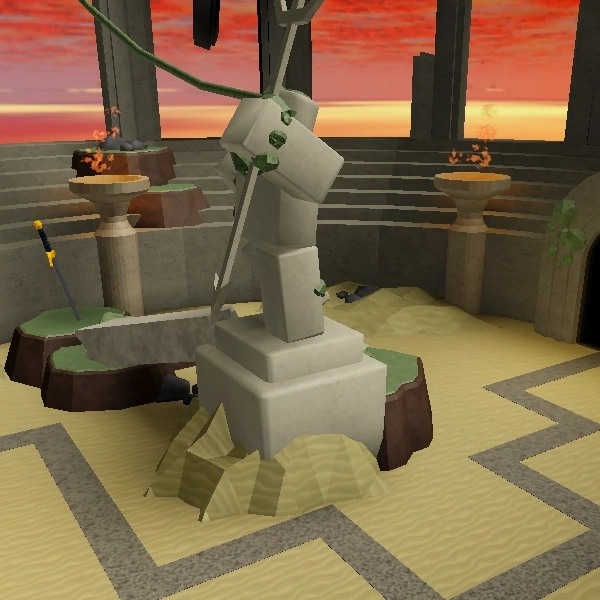
Various props were placed on the map, most of which fell from the sky after some waves had passed. These were all references to various things, often scrapped, from the game's past. A giant statue of the Sentient Titan, a scrapped Hardcore mode enemy, appeared twice on the map. A statue of Lord Exo would fall down from the sky, referencing the thumbnail for the Krampus' Revenge Event, as well as the third stage of Krampus Frosthold. The SCT fell down from the sky multiple times. Three scientists fell down from the sky, which appear to be A, B and C. The SWAT Van unit appeared in a corner of the map. Multiple Riots appeared around the map. An older version of the Tower Defense Simulator logo, specifically one shortened to "TDS", emerged after a few waves. A railgun was present on the map from Wave 0. This belonged to an unreleased cliff tower called the Railgunner which was in the game prior to the Overhaul Update. The Star Cannon appeared out of the sky. Gingerbread structures appeared in the distance, which were part of cut Winter content. As the meshes for them were made in December of 2022, it is assumed this is scrapped content for maps that would have originally released around the Violent Night Event. The entrance to the third stage of the Krampus Frosthold could be seen in the distance. Body of the dead Abyss enemy, the boss for the 2021 PVP mode, could be seen on one of the rocks. A Giant Skeleton could be found on the side of a pipe, also referencing the thumbnail for the Krampus' Revenge Event. A dead Overgrowth could be spotted out of bounds.