Overview[1]
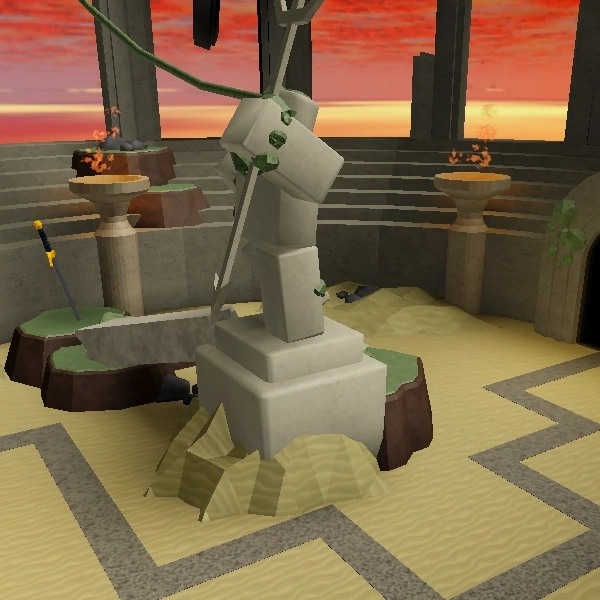
Badlands II is a day-time map set in a western desert town. It is the new version of the original Badlands. This map uses its own mode for the wave structure, enemy statistics and rewards. It is a special map, meaning that it can only be played using the special mode Matchmaking. The statue has a level requirement of Level 25 to be used. Cash is only gained if an enemy is killed, or in some cases, damaged by a specific amount of health. Additionally, the amount gained is a set amount of cash, which is not always equal to the enemy's health. It uses a slightly different method of distributing cash between players, as enemies split their cash between players, regardless of how much damage the player dealt to it. If, in a duo, one player does all the damage to an enemy, both players will receive 50% of the cash the enemy would normally give in solo. This means that in solo, you receive 100% of the cash when an enemy is killed, or it is damaged enough. With each additional player, this is reduced to 50% in duo, 33% in trio and 25% in quad. For example, the Gunslinger gives 10,000 every 1% health in solo, 5,000 in duo, 3,333 in trio and 2,500 in quad. The health of enemies in this mode scales with the player count, starting at three players. The increase is 10% in trio and 20% in quad. It is applied after attributes, like Bloated, meaning they can affect the health of an enemy. This map has the All Paths, HP Locked, Badlands, Mutation, and Cowboy modifiers that are intended to make the game harder or change the appearance of enemies.
Stats
- Developer
- Your_Adversary
- Difficulty
- Insane
- Length
- 00:32.40; 00:20.78; 00:37.40
- Level Requirement
- 25 Level
- Mode
- Western
- Starting Cash
- 800, 900 (Group Bonus)
- Waves
- 30
Design & Path
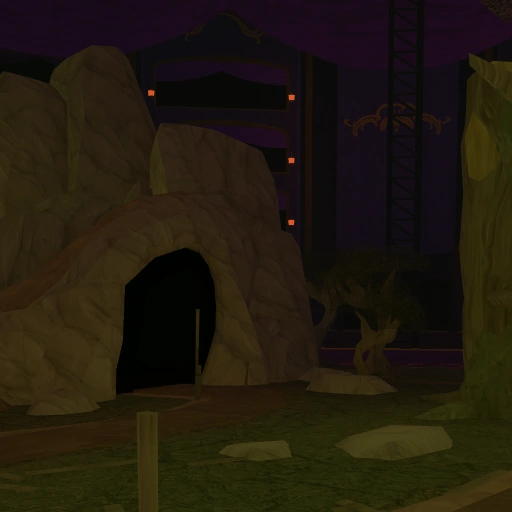
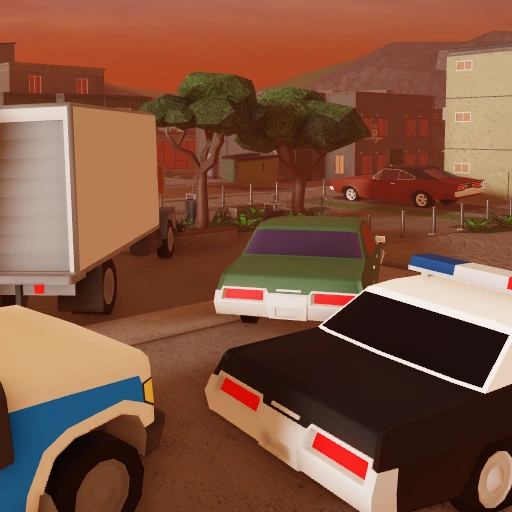
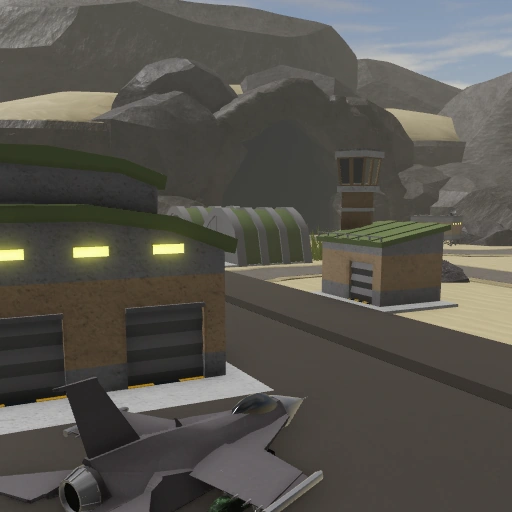
The map takes place in a Western-themed town. The terrain of this island is mainly sand, with plenty of western-themed buildings, on which you can place cliff towers. Two rail tracks can be found on the ground, with a train on one of them. Multiple entrances to cave mines can be found, with minecart rail tracks leading to them. There is also a destroyed rail track above the city. This map has three paths, all of them starting at yellow portals and end at cave mine players have to defend. The left path ends at the right cave, the middle path ends at the middle cave and the right path ends at the left cave. The middle path is a straight line, while the other two paths take multiple turns.
Rewards
For former rewards, see this map's Rewards page. The game calculates how many Coins Coins and you receive based on how many waves you survived and if you won a match. During periods of 100% more (Friday – Sunday), any earned is multiplied by 2x through the XP Boost modifier. The VIP gamepass also multiplies any earned by 1.25x through the VIP Boost modifier. These two boosts are additive. Regular boosts are multiplicative with other modifiers present on this map. Any rewards that end in a decimal point are rounded down, no matter the first figure of the leading decimal. Currently, rewards are calculated as: Triumphing Badlands II can give out an additional reward, which can be a crate, consumable or ticket. These items are: Common (47.39%) (2-4) (2-3) (2-3) Low Grade Crate Barricade (2-4) Supply Drop (2-4) Turkey Leg (2-4) Pumpkin Bomb (2-4) Uncommon (28.44%) Cooldown Flag (2-4) Range Flag (2-4) Damage Flag (2-4) Mid Grade Crate Sugar Rush (2-3) Rare (18.96%) High Grade Crate Napalm Strike (2-3) Blizzard Bomb (2-3) Unholy Storm (2-3) Necromancer's Tome (2-3) Legendary (4.74%) Nuke Custom (0.47%) Molten Monster There are badges and achievements that you can or could obtain when playing this mode, which may have additional rewards alongside them. These are: During some Passes, the Badlands II mode could give currency rewards which you used to progress through a season. Rewards for all the seasons were calculated as
Wave Structure
Currently, Badlands II has multiple wave bonuses, based on the current wave. Between waves 1 to 10, the wave bonus is calculated as: 300 + ([Waves Completed - 1] × 100)^1.08 Between waves 11 to 15, the wave bonus is calculated as: 300 + ([Waves Completed - 1] × 100)^1.09 Between waves 16 to 20, the wave bonus is calculated as: 300 + ([Waves Completed - 1] × 100)^1.1 Between waves 21 to 30, the wave bonus is calculated as: 300 + ([Waves Completed - 1] × 100)^1.13 Depending on player count, the wave bonus is reduced using multipliers. These multipliers are: The wave clear bonus appears when every enemy from that wave was killed. It is 35% of the wave bonus in solo, while for duo, trio and quad it is 20%. Prior to 5th of February 2025, the formula for calculating the wave bonus was: (205 + (Waves Completed - 1) × 50) × (1 - 0.1 × Players) The wave clear bonus appears when every enemy from that wave was killed. It is 35% of the wave bonus in solo, while for duo, trio and quad it is 20%. Before 23rd of May 2024, the formula for calculating wave bonus on each wave was: (180 + (50 × Waves Completed)) ÷ Players The waves in Badlands II follow these timings: Bolded names indicate an enemy type's debut. Prior to the 31st of October 2022, Fallen mode dialogue used to play. However, this is no longer the case. ---- Wave Structure
Strategy
It is recommended to place your towers near the middle section of the map, as it covers most of the map's path. Early on, if you are not trying to get the Quickdraw! badge, you can place towers near the point where all the paths intersect to handle all the paths easily, even though they may not cover much of the map. As many enemies spawn in this map that with waves get increased health, high DPS towers like Accelerator, Engineer or Golden Minigunner are recommended for late game. They are also recommended as the Gunslinger travels quite fast and requires high DPS towers in order to defeat it before it reaches the exit. Because of how many enemies spawn here, area of effect towers like the Golden Pyromancer, Rocketeer and Mortar are highly recommended. Slowing towers like the Sledger or Electroshocker may also be useful at slowing down enemies. High DPS towers with splash damage capabilities, such as the Pursuit, Ranger or Engineer can also be helpful. Support towers, such as the Commander, DJ Booth and Medic are necessary due to how dangerous the waves can get. The Cowboy and Golden Cowboy can be quite useful at making money here, due to enemies spawning thrice and them gaining health with the Mutation modifier. If you want the Quickdraw! badge, it is recommended to have a good strategy, since it is only obtained by beating this map in less than 16 minutes, which is quite a challenge. Teamwork is essential for this badge. Playing with random players is unlikely to make you get it. If you are trying to get the Quickdraw!
Notes
Category:Three-Pathed Maps Category:Special Maps
Trivia
This is the second map to have three paths, with the first being Totality Tower. It is also the first survival map to have three paths. This map ties with Pizza Party for the highest number of modifiers, at five. At the beginning of Waves 1, 10, 20 and 30, a random Intro soundtrack is chosen to play, after which the ambience or final wave music will play. As there are only three intros and four waves they play on, some intro soundtracks would play multiple times, though they are currently bugged and all play at once.