Overview[1]
Containment was the event map for the third and final night of the Hexscape Event. Like other event maps, this map had a specialized wave structure with special enemies. Players started with a varying amount of cash, based on how many players there were in the match. The rewards you received were based on how many waves you survived and if you won a match. This map had two difficulties, Easy and Hard. Cash was only gained if an enemy is killed, or in some cases, damaged by a specific amount of health. Additionally, the amount gained was a set amount of cash, which was not always equal to the enemy's health. In solo, you received 100% of the cash when an enemy was killed, or it was damaged enough. With each additional player, this decreased by 25%, which means that in a trio, you only got 50% of the cash. This amount was distributed between players based on how much damage they dealt. However, if a player did not deal any damage, they would receive a percentage of the enemy's full cash upon its death or when it was damaged enough, which was 12.5% in duo and 16.7% in trio. If it was a decimal, it gets rounded up or down depending on the decimal value. If it was at least 0.5, it got rounded up. If it was less than 0.5, it got rounded down. For example, the Withered gave 1,000 after losing 25% of its health in solo, 750 in duo and 500 in trio between the players that damaged it. Players that did not damage it received 125 in duo and 167 in trio. Health of enemies in this mode scaled with player count. The increase was 10% more health in duo and 20% more health in trio.
Stats
- Developer
- Your_Adversary
- Difficulty
- Event
- Length
- Long
- Level Requirement
- None
- Mode
- Event
- Waves
- 30
- Starting Cash
- Solo 2,000 2,100 (Group Bonus) Duo: 1,700 1,800 (Group Bonus) Trio: 1,500 1,600 (Group Bonus)
Design & Path
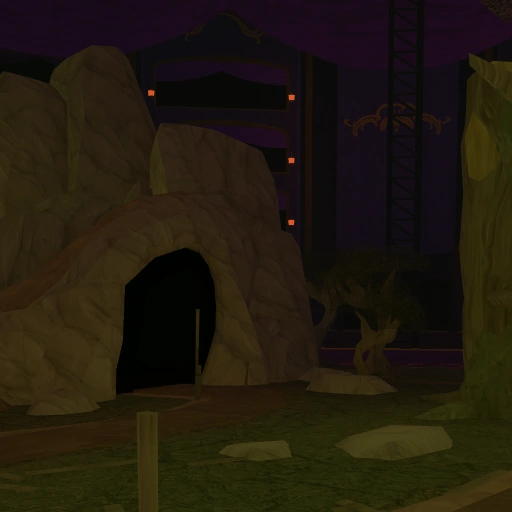
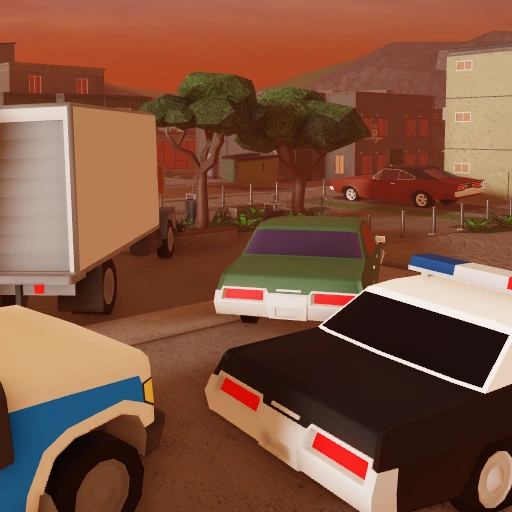
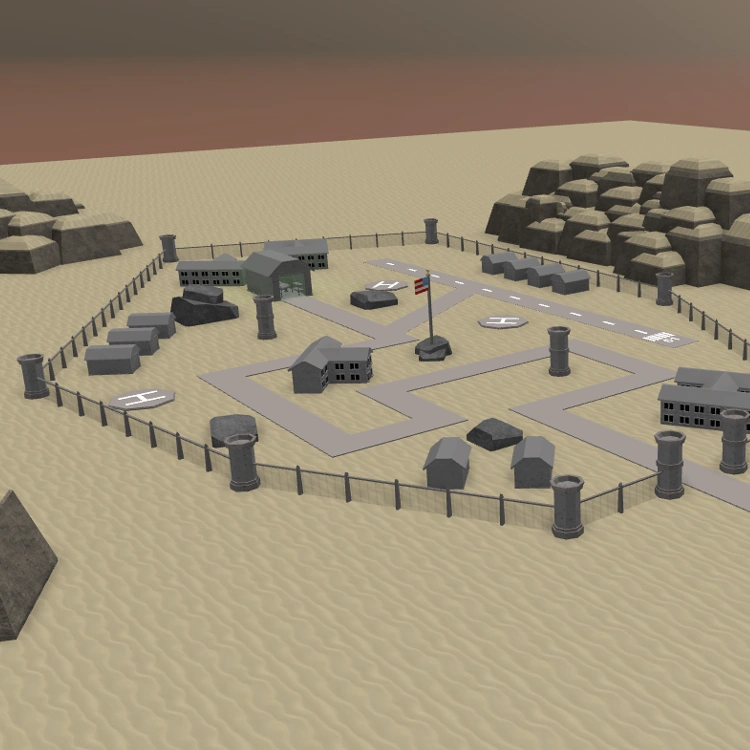
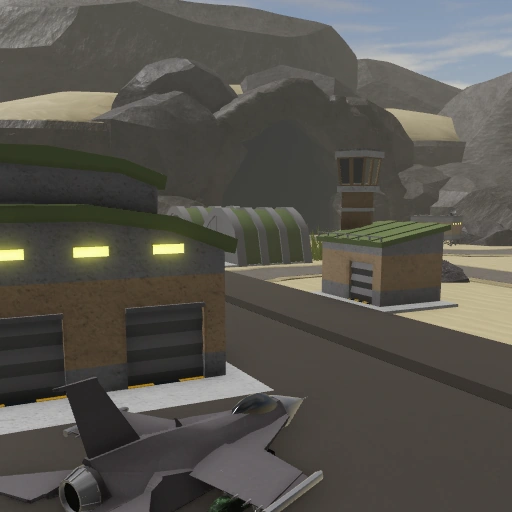
Containment took place in a giant crater, which before its creation was a village. Remnants of civilization could be found around the map, with broken tracks, burned down houses and skeletons, and random objects like planks that were scattered around the map. Multiple rocks and cliffs could be found inside the crater. There was also a large portal to The Nightmare Realm, which acted as the enemy entrance, and a corrupted super computer, which acted as the exit. The path started at the portal and then split in two directions, that took on different twists and loops before merging after the small hill in the middle of the map and into the corrupted super computer that marked the end. There was also a separate path for Primordial Drakobloxxer, which could not be seen. It started and ended at the same points, but took a different route.
Objective
At Wave 30, the "Defeat the Drakobloxxer" objective would be tasked to the players. This was because the final boss, Primordial Drakobloxxer, did not follow the main path and instead moved around the map towards the exit, disregarding the main path, instead using its own path. Upon defeating it and completing the objective, the match would be triumphed and the final cutscene would play.
Preset Loadouts
In the Easy difficulty, there were three preset loadouts: Vanguard, Sentinel and Onyx Squad. If not chosen after 30 seconds, the loadout chosen would be randomized. In the Hard difficulty, every player was given the Harvester if they did not have it equipped already.
Rewards
The game calculated how many you received based on how many waves you survived and if you won a match. During periods of 100% more (Friday – Sunday), any earned was multiplied by 2x through the XP Boost modifier. The VIP gamepass also multiplied any earned by 1.25x through the VIP Boost modifier. These two boosts were additive. Rewards were calculated as: Triumphing Containment could give out an additional reward, which could be any of the Hexscape Event consumables. These items were: Common (60%) Turkey Leg Easy: 1-3 Hard: 2-4 Pumpkin Bomb Easy: 1-2 Hard: 2-3 Uncommon (40%) Sugar Rush Easy: 1-2 Hard: 2-3 There were also a few badges which can be obtained when playing this map. These were
Wave Structure
Containment had two wave bonuses, based on the difficulty. In Easy, the wave bonus was calculated as: 500 + ([Waves Completed - 1] × 150)^1.15 In Hard, the wave bonus was calculated as: From Waves 1–12: 500 + ([Waves Completed - 1] × 150)^1.15 From Waves 13–25: 500 + ([Waves Completed - 1] × 150)^1.2 From Wave 26: 500 + ([Waves Completed - 1] × 150)^1.25 On Wave 30, in the Easy difficulty every player was given 50,000, while in Hard, every player was given 500,000. Depending on player count, the wave bonus was reduced using multipliers. These multipliers are: For example, on Wave 2 when difficulty is set to Hard, the wave bonus was 818.056992433, rounded down to 818. The full number was used in the equation. In duo, it was 736 (818.056992433 × 0.9), while in trio, it was 793 (818.056992433 × 0.97). The wave clear bonus appeared when every enemy from that wave was killed and no damage was dealt to the base health. It was 25% of the wave bonus in solo, while for duo, trio and quad it was 20%. Waves could not be skipped in Containment. The waves in Containment mode followed these timings: Bolded names indicate an enemy type's debut. ---- Wave Structure
Strategy
The Cowboy and Golden Cowboy cash generation is halved in the Hard difficulty, though they are still great as they can defend the early waves while also generating income. Towers such as the Golden Soldier, Golden Scout, Golden Crook Boss, or even the Militant can fare quite well against early waves. High DPS towers such as the Turret, Ranger, Golden Minigunner, Accelerator and Engineer are needed to face the threat posed by this mode. The Electroshocker is quite useful as it can mitigate the nimble attribute on enemies, stun crowds, provide AOE damage and is able to hit flying enemies. It will also not conflict with other towers like the Pyromancer when stunning. The Golden Pyromancer is great as it can easily deal with large hordes of enemies while also reducing their defense. The Pyromancer is also usable here, though it may not be as effective in dealing with crowds. In the Hard difficulty, you will have a sixth tower slot for the Harvester, you can use this tower for its thorns ability, which can damage multiple enemies and slow them down. It is not recommended to bring your own Harvester for this reason, as you will waste a spot for other necessary towers. Support towers like the DJ Booth and Commander are essential to boost your towers. The Medic is especially useful as Primordial Drakobloxxer will have multiple of AOE stun abilities, making it quite useful as it can remove stuns from towers.
Update History
30 October 2024 Containment accidentally released without all the proper changes being applied. 30 October 2024 - v1.39.0 Containment added. Harvester is not useable when using the Wasteland skin. Hard difficulty does not give Coins Coins. Some cutscenes do not play. Harvester is removed from player's loadouts after restarting. All changes required have been applied. 30 October 2024 - v1.39.2 Cutscenes now plays properly. 30 October 2024 - v1.39.3 Harvester is no longer removed from player's loadouts after restarting. 4 November 2024 - v1.39.7 Hard difficulty now gives Coins Coins. 20 November 2024 - v1.42.0 Containment removed.
Patch history
If the Wasteland Harvester skin was equipped by a player, it would appear on the Harvester that the Hard difficulty gives, even if the tower itself was not equipped. When Containment first released, it actually was different from the intended version. It was quickly changed to its intended version minutes later, meaning all differences are impossible to find. The music that played was a slightly different version of Return to Ruin than the intended one. The dialogue was different and actually featured the Commander, though this dialogue was just copied from The Classic Event, specifically Classic Candy Cane Lane.